Drilling is an essential task when it comes to any DIY project or professional work. However, removing a drill bit can be challenging, especially if you are a beginner. In this article, we will guide you through the process of taking off a drill bit with ease.
Step-by-Step Guide
Step 1: Turn Off The Drill
Before you start taking off the drill bit, make sure that the drill is turned off. This is to ensure that you do not accidentally activate the drill and hurt yourself.
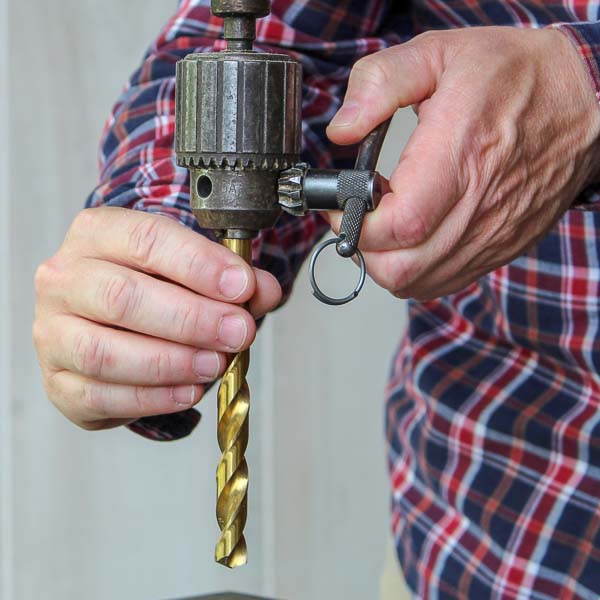
Step 2: Release The Chuck
The chuck is the part of the drill that holds the bit in place. To release the chuck, you need to rotate it counterclockwise. This will loosen the grip on the drill bit, allowing you to remove it easily.
Step 3: Remove The Drill Bit
Once the chuck is loosened, you can easily remove the drill bit by pulling it out of the chuck. If the drill bit is stuck, you can use pliers to grip the bit and pull it out.
Tips For Removing Stubborn Drill Bits
Tip 1: Use A Screwdriver
If the drill bit is stuck, you can use a screwdriver to loosen it. Insert the screwdriver into the chuck and turn it counterclockwise. This will help to release the grip on the bit, making it easier to remove.
Tip 2: Apply Heat
If the drill bit is really stubborn, you can apply heat to the chuck. This will cause the metal to expand, releasing the grip on the bit. You can use a heat gun or a hairdryer for this purpose.
Tip 3: Use Lubricant
You can also use lubricant to loosen a stubborn drill bit. Apply a few drops of lubricant to the chuck and let it sit for a few minutes. This will help to loosen the grip on the bit, making it easier to remove.
Conclusion
Removing a drill bit can be a daunting task, especially if you are new to drilling. However, by following the steps outlined in this article, you can easily remove a drill bit with ease. If you encounter a stubborn drill bit, try one of the tips outlined above to make the process easier.