Installing a drain in an existing concrete floor can seem like a daunting task, but with the right tools and techniques, it can be done. Whether you’re looking to install a drain in your basement or garage, it’s important to take the time to plan out the project and gather all the necessary materials before you begin.
Step 1: Choose Your Drain

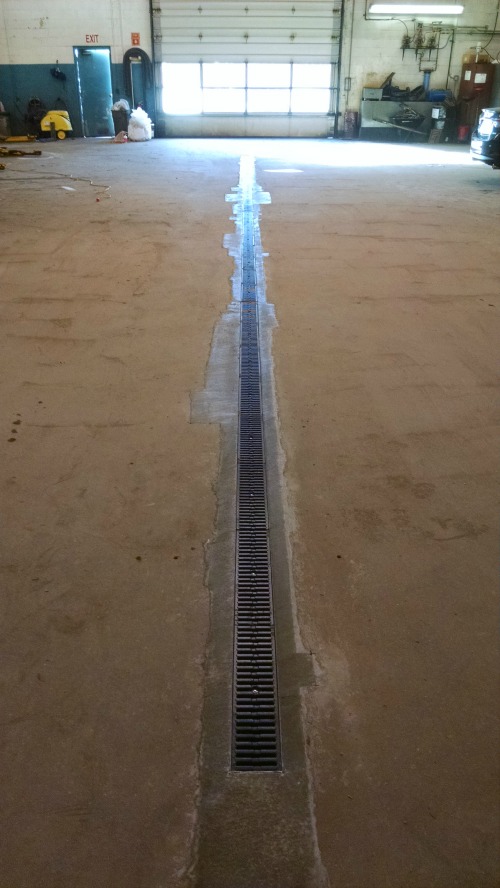
The first step in installing a drain in an existing concrete floor is to choose the type of drain you want to install. There are several different types of drains to choose from, including trench, floor, and shower drains. Make sure to choose a drain that is appropriate for your space and needs.
Step 2: Plan Your Layout
Once you have chosen your drain, you need to plan out the layout of your installation. This includes determining where the drain will be located, as well as the slope and depth of the trench or hole that will need to be dug in order to install the drain.
Step 3: Gather Your Materials

Before you begin your installation, you will need to gather all the necessary materials. This includes the drain, PVC piping, a sump pump (if necessary), and any other tools and equipment that you will need to complete the job.
Step 4: Cut the Concrete

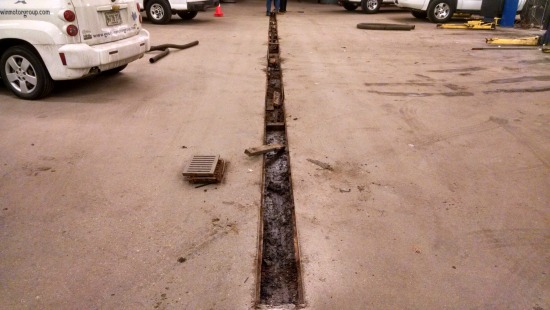
Next, you will need to cut the concrete in order to make room for the drain. This can be done using a concrete saw or jackhammer. It is important to wear protective gear and take safety precautions when cutting concrete.
Step 5: Install the Drain

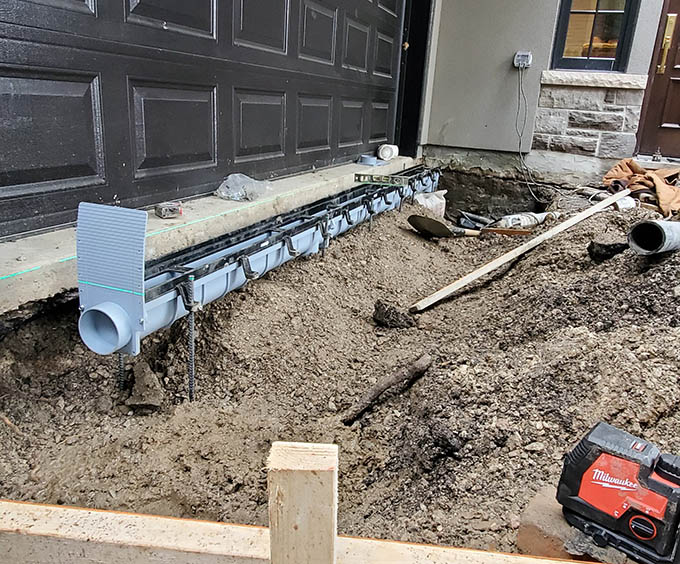
Once you have cut the concrete, you can begin installing the drain. This involves placing the drain in the hole or trench and securing it in place with PVC piping. Make sure to follow the manufacturer’s instructions carefully.
Step 6: Connect to the Sump Pump

If you are installing a floor drain in a basement or garage, you may need to connect it to a sump pump in order to remove any excess water. This involves running PVC piping from the drain to the sump pump and ensuring that it is properly connected.
Step 7: Fill in the Hole
Once you have installed the drain, you will need to fill in the hole with concrete. Make sure to smooth out the surface and allow the concrete to dry completely before using the area.
Step 8: Test the Drain
After the concrete has dried, you can test the drain to ensure that it is working properly. Run water through the drain and monitor the flow to ensure that it is draining properly and not backing up.
Conclusion
Installing a drain in an existing concrete floor can be a challenging project, but with the right tools and techniques, it can be done. Remember to plan out your installation carefully, gather all the necessary materials, and take safety precautions when working with concrete. By following these steps, you can successfully install a drain in your basement or garage and ensure that your space stays dry and free of excess water.